Soap Film Painting Construction
Note: We followed the directions given in the San Francisco Exploratorium Cookbook using recipe #???.
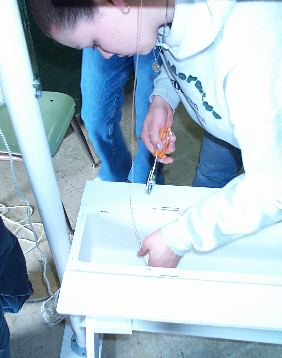
When we made our exhibit, the first thing that was made was the trough that holds the soap solution. Our trough was 6 inches wide, 6 inches deep, and 5 1/2 feet long. The trough had a drain at one end to allow the soap out of the trough when the exhibit is stored away. We sealed the entire trough with epoxy paint. The seams were then caulked to prevent leaks.
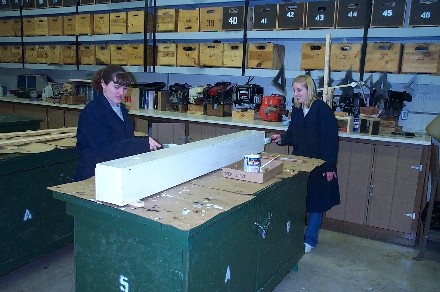
The next step was to make the stand for the trough. The stand stood 2 feet high. A board was placed flat on the ground with two other boards connected at a 45 degree angle to this board. A fourth board was then connected to the top of these to make one side of the stand. This was repeated to make the other side of the stand. The trough is placed on these two stands.
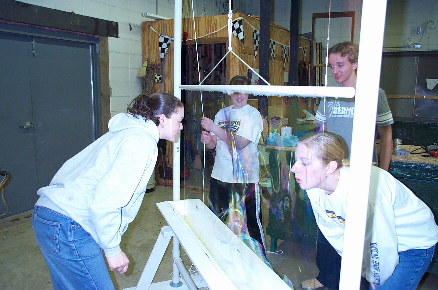
On the flat board of the stand, a brace was attached on each side for the PVC pipes. Two 9 foot PVC pipes were screwed to the braces standing straight up and down. Another PVC pipe connected the two stands together to make it more sturdy. This PVC pipe was 5 feet long.
Curved pieces that fit on the PVC were placed on the top of each of the 9 foot pipes. A fourth piece of PVC 6 feet long was connected between the two 9 foot pipes. Holes were drilled through the curved pieces and the straight PVC so a screw and wing nut could be used to help make the PVC more secure, yet allow the exhibit to be dismantled.
Now that the frame was done, the smaller work began. A smaller in diameter PVC pipe was cut short enough (about 5 feet long) to fit the trough. Corks were then pushed in about 7 inches into the PVC pipe on either end. Corks were also inserted to seal off each end of this PVC pipe.
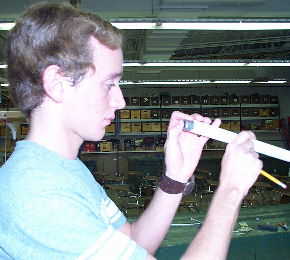
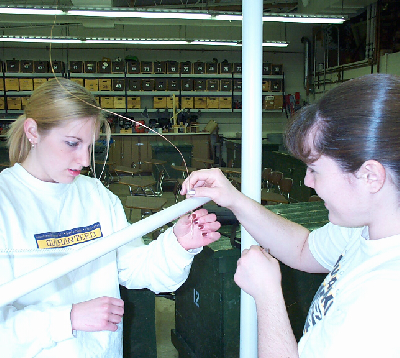
Holes were drilled directly through the middle of the pipe at 6 inches from both ends. Two hooks were screwed into the bottom of the trough at the exact same distance apart as the two holes in the smaller PVC. Two hooks were also screwed into the PVC pipe across the top of the frame at the exact same position as the hooks in the trough. A copper wire was then strung tightly between these two hooks, going through the smaller PVC pipe before being tied.
|
|
|
A nylon rope was connected in the middle of the smaller PVC pipe. This rope was run through a pulley added to the middle of the top PVC pipe. The rope then went through another pulley that was added at the corner of one of the 9 foot pipes. This rope is used to raise and lower the PVC pipe to create the bubble.
Our exhibit was then complete.